
A gallery wall is one of the fastest ways to make a room feel finished — but it's also one of the easiest things to get wrong. Too many pieces, mismatched frames, or no clear layout, and it starts to look accidental instead of intentional. Here's how to plan one, room by room.
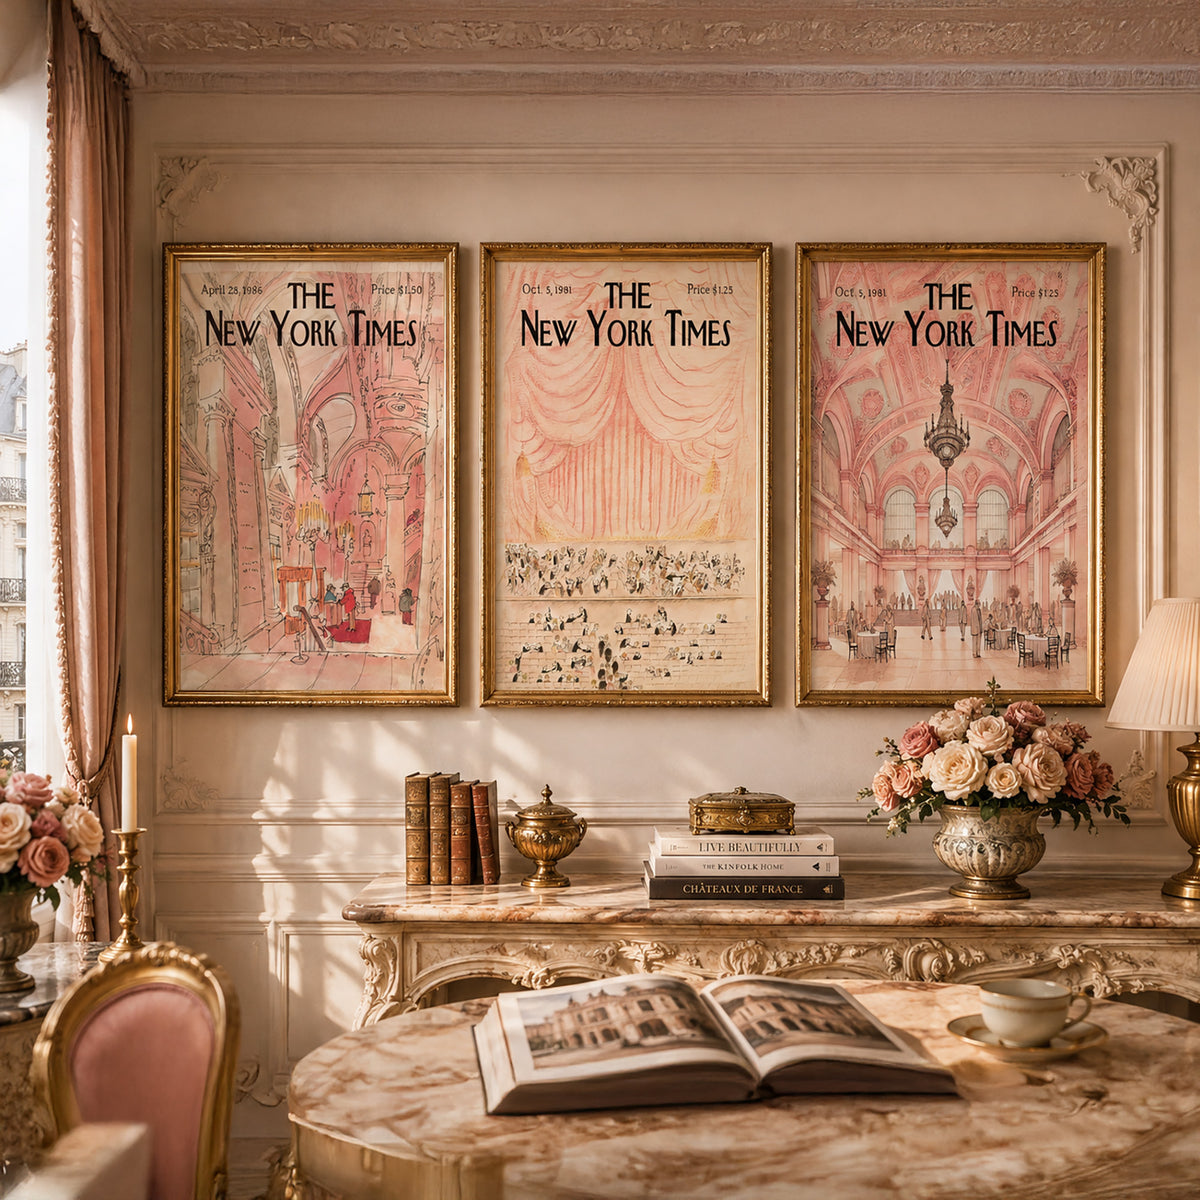
The Basics First
Pick a layout style. There are two easy approaches: a grid (matching sizes, evenly spaced — clean and modern) or a salon-style cluster (mixed sizes, tighter spacing — more eclectic). If you're new to gallery walls, a grid of matching prints is the safest place to start.
Start with a set, not singles. Buying individual prints one at a time makes it hard to keep a wall cohesive. A pre-matched set of 2 or 3 prints — already sized and color-coordinated — solves the spacing and color-matching problem before you even pick up a hammer.
Leave breathing room. As a rule of thumb, 2–3 inches between frames keeps a wall feeling curated rather than crowded.
Living Room
This is usually the largest wall in the home, so it can handle bigger, bolder pieces. A set of 3 large-format prints above a sofa or console table reads as a single statement rather than three separate decisions. Qarira's Travel & Cityscapes collection works particularly well here — large-scale destination art gives a living room wall real presence.
Hallway or Staircase
Narrow spaces are exactly where a vertical set of 3 shines. Choose a set with a consistent color palette so the eye reads it as one composition while walking past, not three unrelated pictures.
Bedroom
Softer, quieter palettes work best where you sleep. Muted, vintage-toned prints — like the pieces in Qarira's Old Money & Quiet Luxury collection — add warmth without overstimulating a room that's meant to be calming.
Home Office
This is the one room where a bit of personality and humor works well. A single striking print, or a smaller set positioned at eye level from your desk chair, keeps the space feeling inspired without becoming distracting on video calls.
A Few Practical Tips
- Lay your set out on the floor first, or tape paper cutouts to the wall, before drilling anything.
- Hang the center of a grouping at roughly eye level (about 57–60 inches from the floor to the center of the art).
- Stick to one frame material per wall — mixing wood tones is fine, mixing wood and glossy black in the same grouping usually isn't.
Every Qarira print is made to order, printed with giclee (inkjet) technology on premium archival matte paper, and backed by our Damage Protection Guarantee. Browse the full collection to find your next set.